Part 1 Home Lab Journey - Part 1
Part 2 Home Lab Journey - Part 2
This is the final post in my series about building my home network and homelab. What started as a straightforward plan to extend my network to the attic gradually turned into a full-scale project with racks, servers, cables, and a lot of trial and error. After months of planning, problem-solving, and learning from unexpected roadblocks, I’m excited to share the full story of how it all came together.
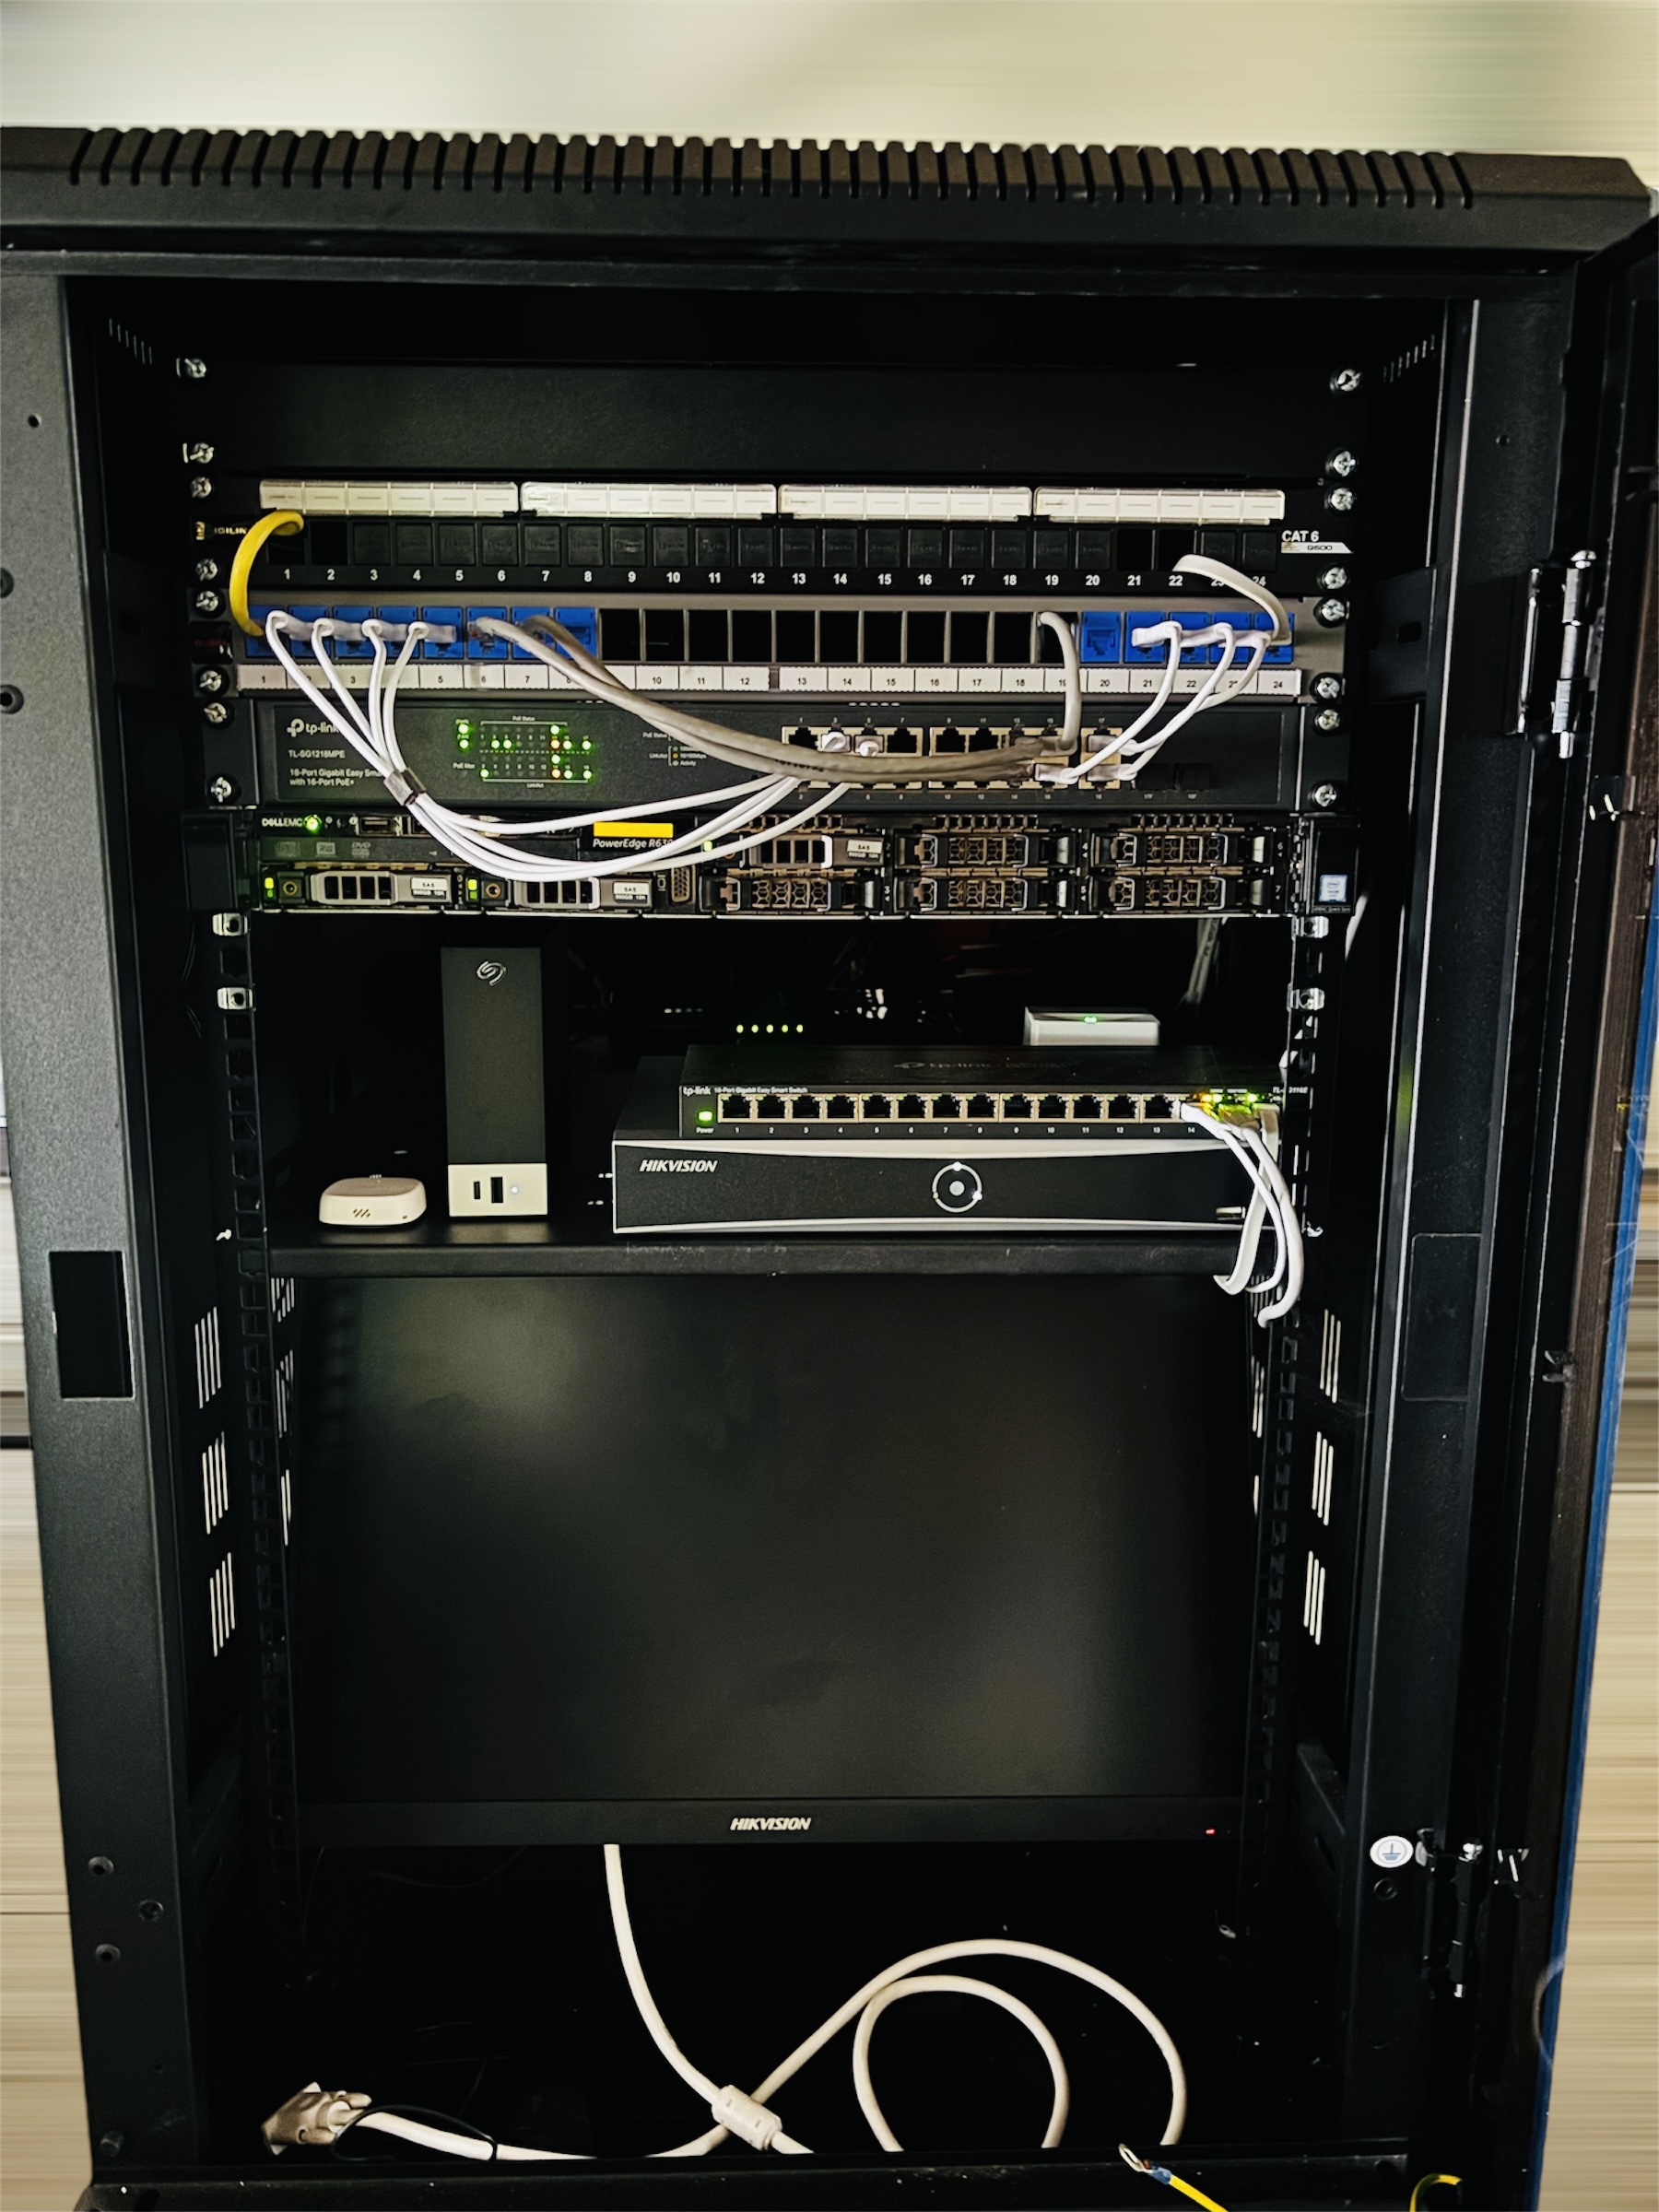
Before diving into the details, here’s the completed setup—a glimpse at the end result of this ambitious journey. Sharing this upfront breaks the suspense and gives a clear picture of what all the hard work led to.
The Catalyst: A Push to Finally Act
For about two years, my attic network setup served its purpose and met my basic needs. It was sufficient for general tasks like streaming, occasional backups, and managing a few connected devices. However, as time passed, I began adding more services to my network, which made managing them across various scattered devices increasingly difficult. Each device had its own quirks and demands, and maintaining consistent uptime for services that needed to be available 24/7 became a growing challenge. This fragmented approach was no longer sustainable and was causing frequent interruptions and inefficiencies.
I knew the solution was a centralized homelab where all services could be managed more cohesively, but I kept postponing the project due to the complexity and time it would require. The tipping point came when I decided to install a CCTV system for home security. I wanted an IP-based system that would provide continuous, reliable surveillance 24/7. The demands of this new project finally gave me the push I needed to commit to building a proper homelab setup once and for all.
Starting Point: Gathering the Right Equipment
To support the CCTV system, I needed a PoE (Power over Ethernet) switch that could power the cameras and provide data over a single Ethernet cable. After some research, I went with the TP-Link TL-SG1218MPE, which had:
- 16 PoE+ gigabit RJ45 ports for the cameras and other PoE devices.
- 2 non-PoE gigabit RJ45 ports for standard connections.
- 2 combo gigabit SFP slots for future fiber optic expansion.
I quickly realized my stash of Cat6 cable wouldn’t be enough for this project, so I bought more, along with extra RJ45 jacks. My CCTV setup included Hikvision IP cameras and a 16-channel NVR (Network Video Recorder) to manage and record the video feeds. With all these new devices, I needed a server rack to organize everything.
The 600×600 mm Rack: A Decision That Came Back to Haunt Me
With my growing list of equipment, I needed a server rack to organize everything. This was new territory for me. Finding the right server rack proved to be more difficult than I anticipated. I searched online and at local stores, but options were almost nonexistent. The only racks I found were 1U racks, which were far from what I needed. I couldn’t find any full server racks that fit my requirements. Eventually, there was only one viable option: a 600×600 mm 21U rack from an industrial supplier. It wasn’t exactly what I envisioned, but it was the only practical choice available.
Even though I hadn’t seen a rack server in person before, I knew I needed a solution that could support future expansions. I wasn’t planning to add a server to the rack immediately, but I wanted to be prepared to do so in the next few months if I find the right choice. This made choosing a future-proof rack essential, even though the limited options in my area made it challenging.
What does 21U mean?
For those unfamiliar with this term, “21U” refers to the height of a server rack. Each “U” (rack unit) measures 1.75 inches in height. This means that a 21U rack is approximately 36.75 inches tall.
I also grabbed a pre-loaded patch panel from D-Link. Patch panels let you organize your Ethernet connections neatly in one place. I added a PDU (Power Distribution Unit) to distribute power across all the devices in the rack efficiently.
Building the Rack: The Real Work Begins
I initially used a pre-loaded patch panel from D-Link, which worked fine but proved difficult to terminate because each wire had to be connected in a specific order, making the process time-consuming and error-prone. To make it easier, I decided to purchase an unloaded patch panel and keystone jacks from Molex. This change made the task much more straightforward, as it allowed for easier handling and adjustments during installation. Although the keystone jacks still required wiring in a specific order, the modular design made the overall process simpler and more manageable.
Additionally, I repurposed a low-quality patch panel I had on hand to help run wires behind it and connect other gear in the rack, effectively serving as a makeshift cable manager and keeping the setup organized.
The Hunt for a Server: A Game-Changer
Despite all the progress, I was still missing the centerpiece of my homelab, a rack server. I searched for months but struggled to find one locally. One Sunday morning, I got a message from someone I’d contacted months ago. He had a Dell PowerEdge R630 available:
- 256 GB of RAM
- 64 cores (2× Intel Xeon E5-2683 v4 CPUs)
- 3× 1 TB SAS drives
The server came with iDRAC (Integrated Dell Remote Access Controller), which was crucial to me for remote management. Before committing, I used a diagnostic software to check the server’s health, disk health and confirmed it was in good condition. The only downside was that the server was located in Bangalore, quite a distance from where I live. Thankfully, a friend agreed to pick it up for me and pass it to someone traveling to my city. I owe him big time.
The Reality Check: My First Encounter with a Server
When the server arrived, my initial excitement quickly turned into concern. It was bigger than I’d anticipated, and I soon realized it wouldn’t fit into my existing 600×600 mm rack. I needed a larger rack—ideally 600×800 mm. And so, the hunt for a new rack began again.
There was a part of me that worried the investment I made in my previous setup would go to waste. But knowing myself, I either commit fully or not at all. Once I’m in, I don’t hold back or worry excessively about what’s already been spent—I push forward and do things properly. So, despite the initial hesitation, I decided to invest in a new rack that would accommodate the server. I told myself that I would find a way to repurpose the 600×600 mm rack later on, perhaps for a different project.
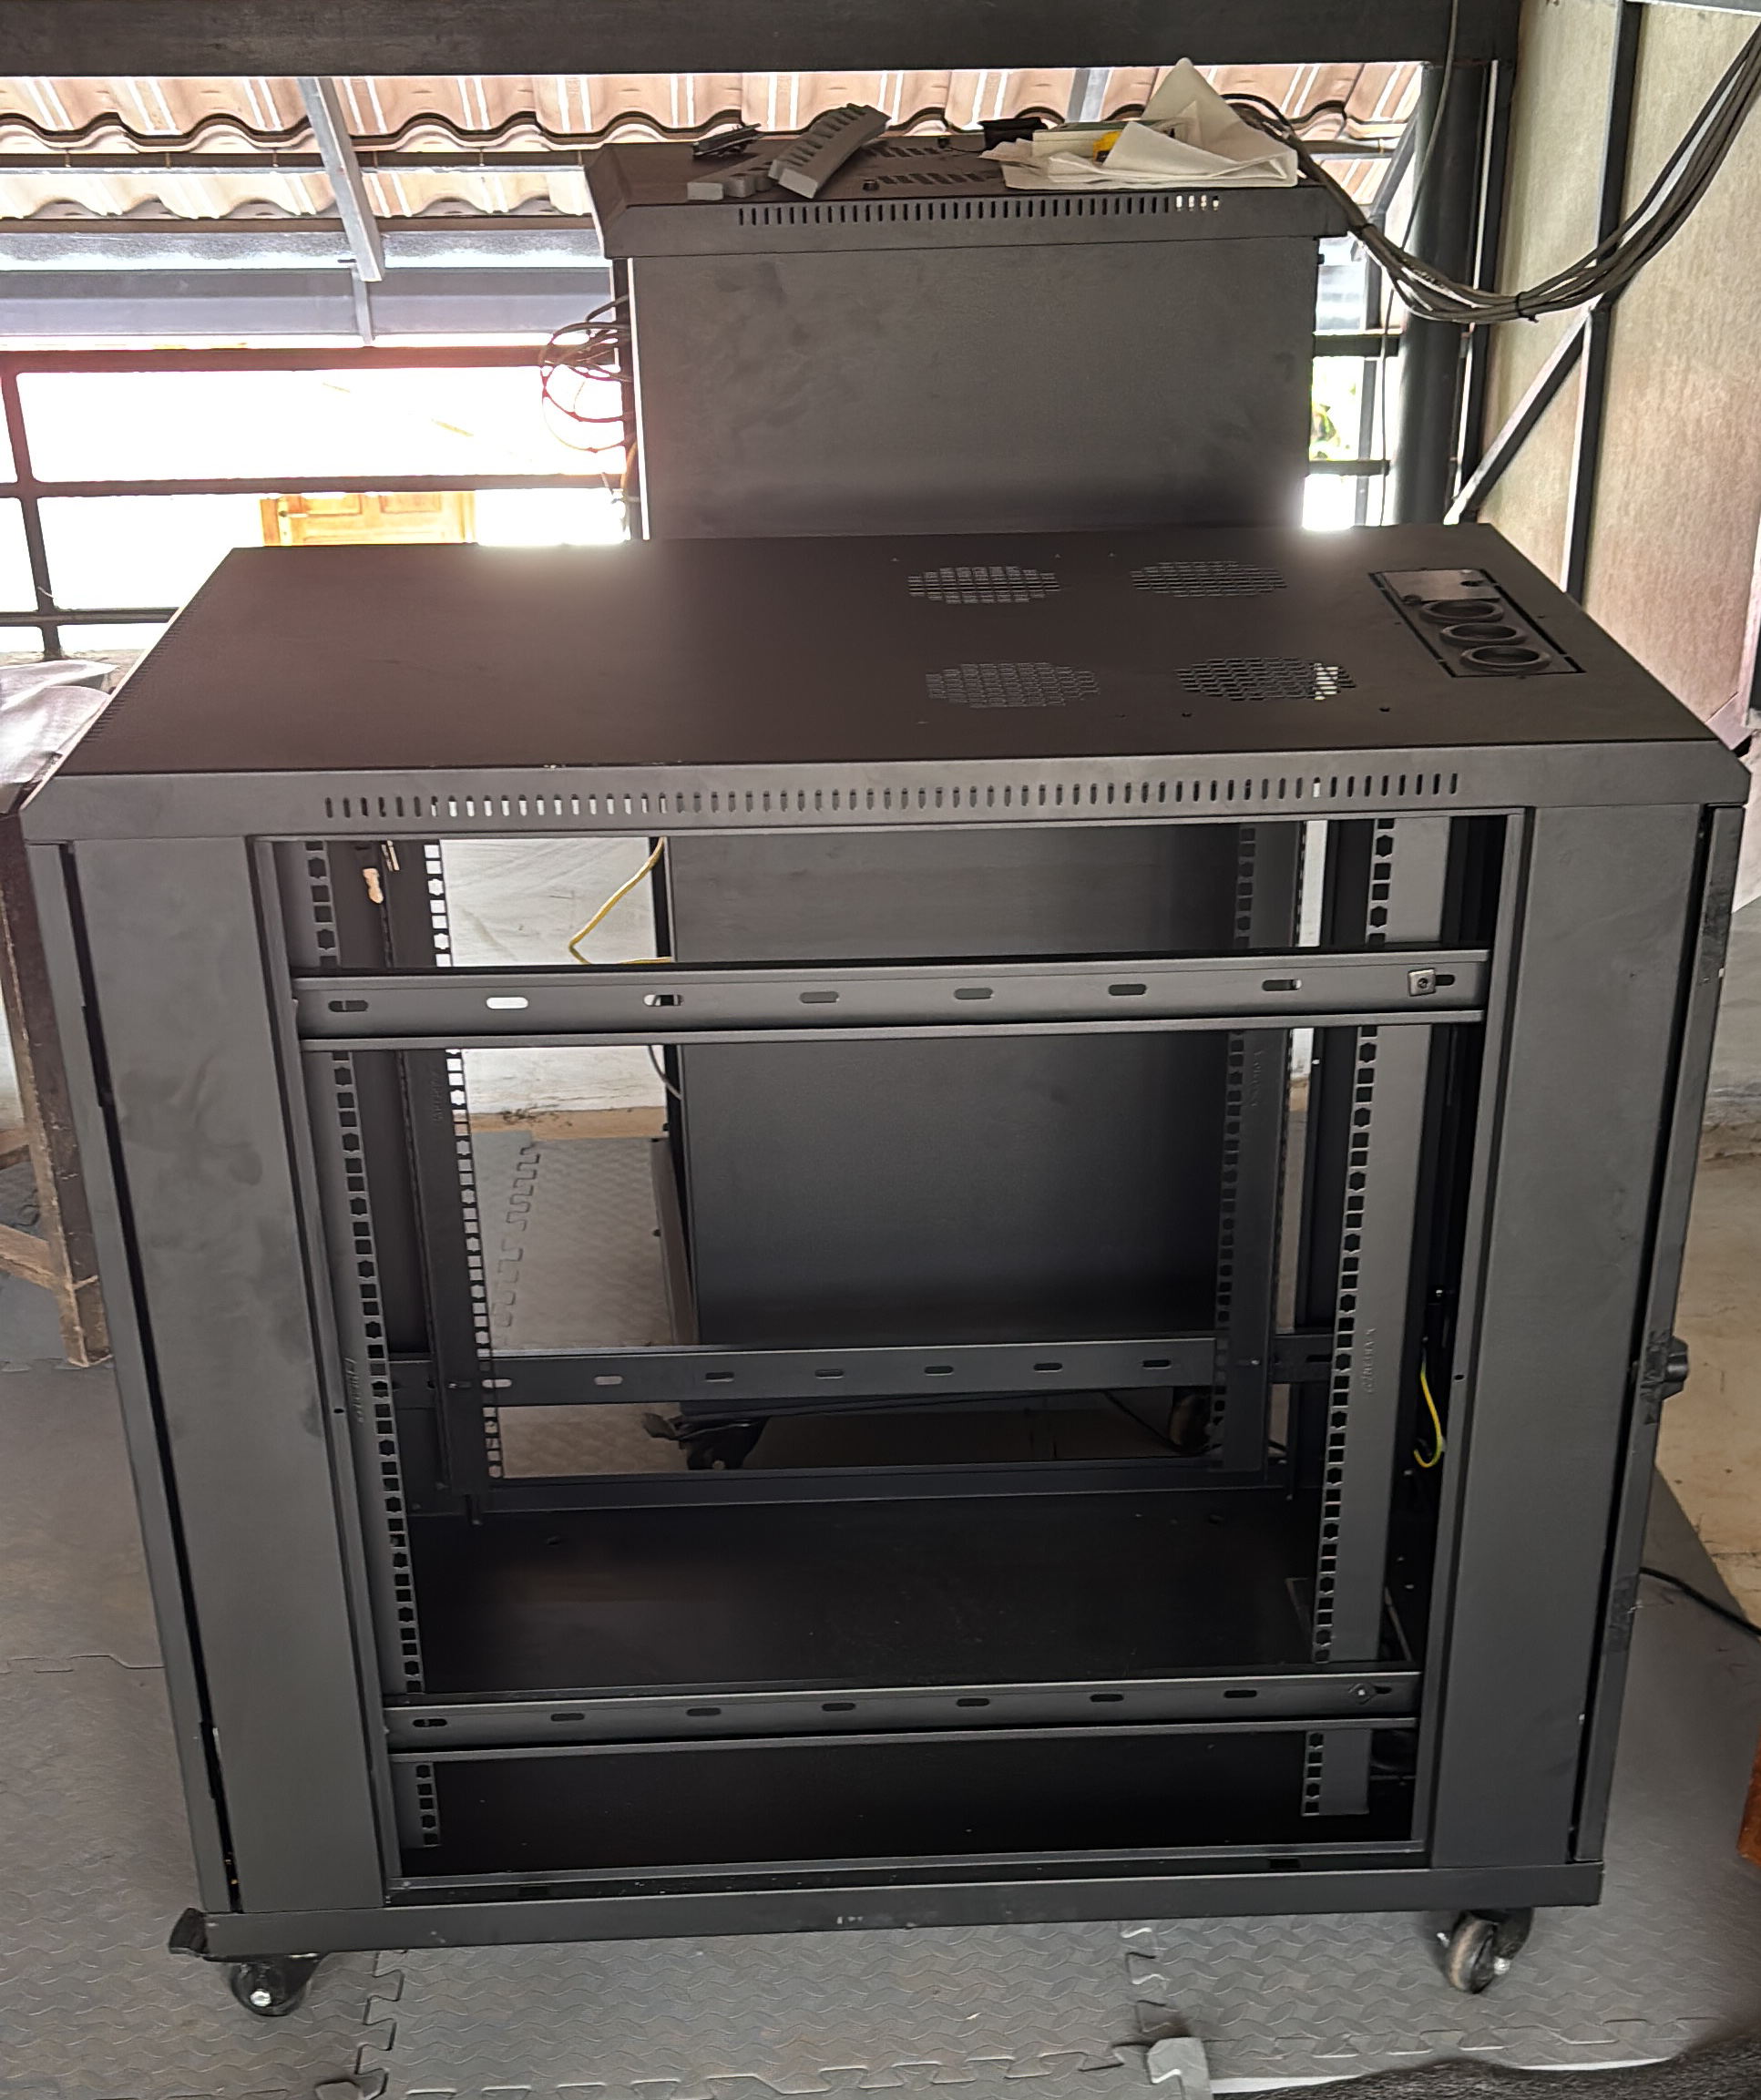
This time, I reached out to many contacts I’d made while sourcing different components. One of them suggested I get in touch with E Caps Computers, a supplier known for dealing with industrial networking equipment. After calling them, I learned they only had a 600×1000 mm rack in stock. It was overkill for my needs, but with no other options available, I decided to buy it.
The Heavy Lift: My Brother’s Help
Moving the heavy rack to the attic was a challenge on its own, and I couldn’t have done it without my brother’s help. He’s an experienced software developer, but this time, he swapped coding for manual labor. Together, we maneuvered the oversized rack up narrow stairways and tight corners—it was hard work and definitely a two-person job.
In addition to helping with the heavy lifting, my brother assisted with the ethernet wiring and other nitty-gritty tasks that came up along the way.
ReadyRails and the Final Setup
To mount the server, I needed Dell ReadyRails, which make installation and maintenance much simpler. I found a seller in Hyderabad who shipped them via bus, which I collected the next day.
Once I had everything, I rebuilt the setup with my new, larger rack. The final installation included:
- PDU
- Hikvision NVR
- TP Link PoE switch (TL-SG1218MP)
- TP-Link Non-PoE switch (TL-SG116E)
- Patch panel - Molex 24 port
- Server - Dell Poweredge R630

Starting Fresh: Rebuilding with the 600×1000 mm Rack
With the new, larger rack delivered, I dismantled my old setup and started transferring everything over. This was more than just a move; it was an opportunity to rethink how I laid out the equipment. I installed the PDU, remounted the NVR, positioned the PoE and non-PoE switches, and re-terminated the patch panel connections.
Working with Cage Nuts
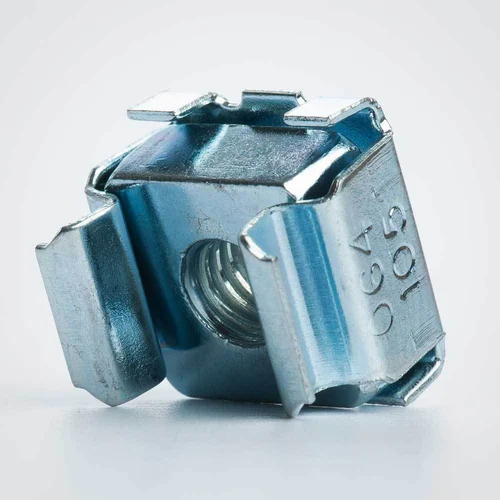
If you’ve never worked with cage nuts, they’re small but essential for securing equipment in a server rack. Here’s a quick guide for those new to them:
- Pick Your Spot: Decide where you’ll mount the equipment.
- Insert the Nut: Push one side of the cage nut into the square hole at an angle.
- Snap It In: Use a flathead screwdriver or a cage nut tool to secure the other side.
It sounds straightforward, but cage nuts can be tricky and have a knack for pinching fingers. After some practice, I got them in without too much trouble.
An Unexpected Partner
Homelab projects can often feel like long, solitary undertakings, but I was fortunate to have my wife’s support throughout the process. We’d only been married a few months, and while she’s a teacher with not much background in tech, she stepped in to help whenever I needed it. Whether it was holding a flashlight or handing me screws, she was always there, ready to pitch in.
By the end of the project, she could tell a switch from a server and had picked up some basics about networking, servers, and virtual machines. Not bad for someone who didn’t expect to dive into tech at all. Her involvement was unexpected but became an invaluable part of making the project come together.
Cable Management: Taming the Chaos
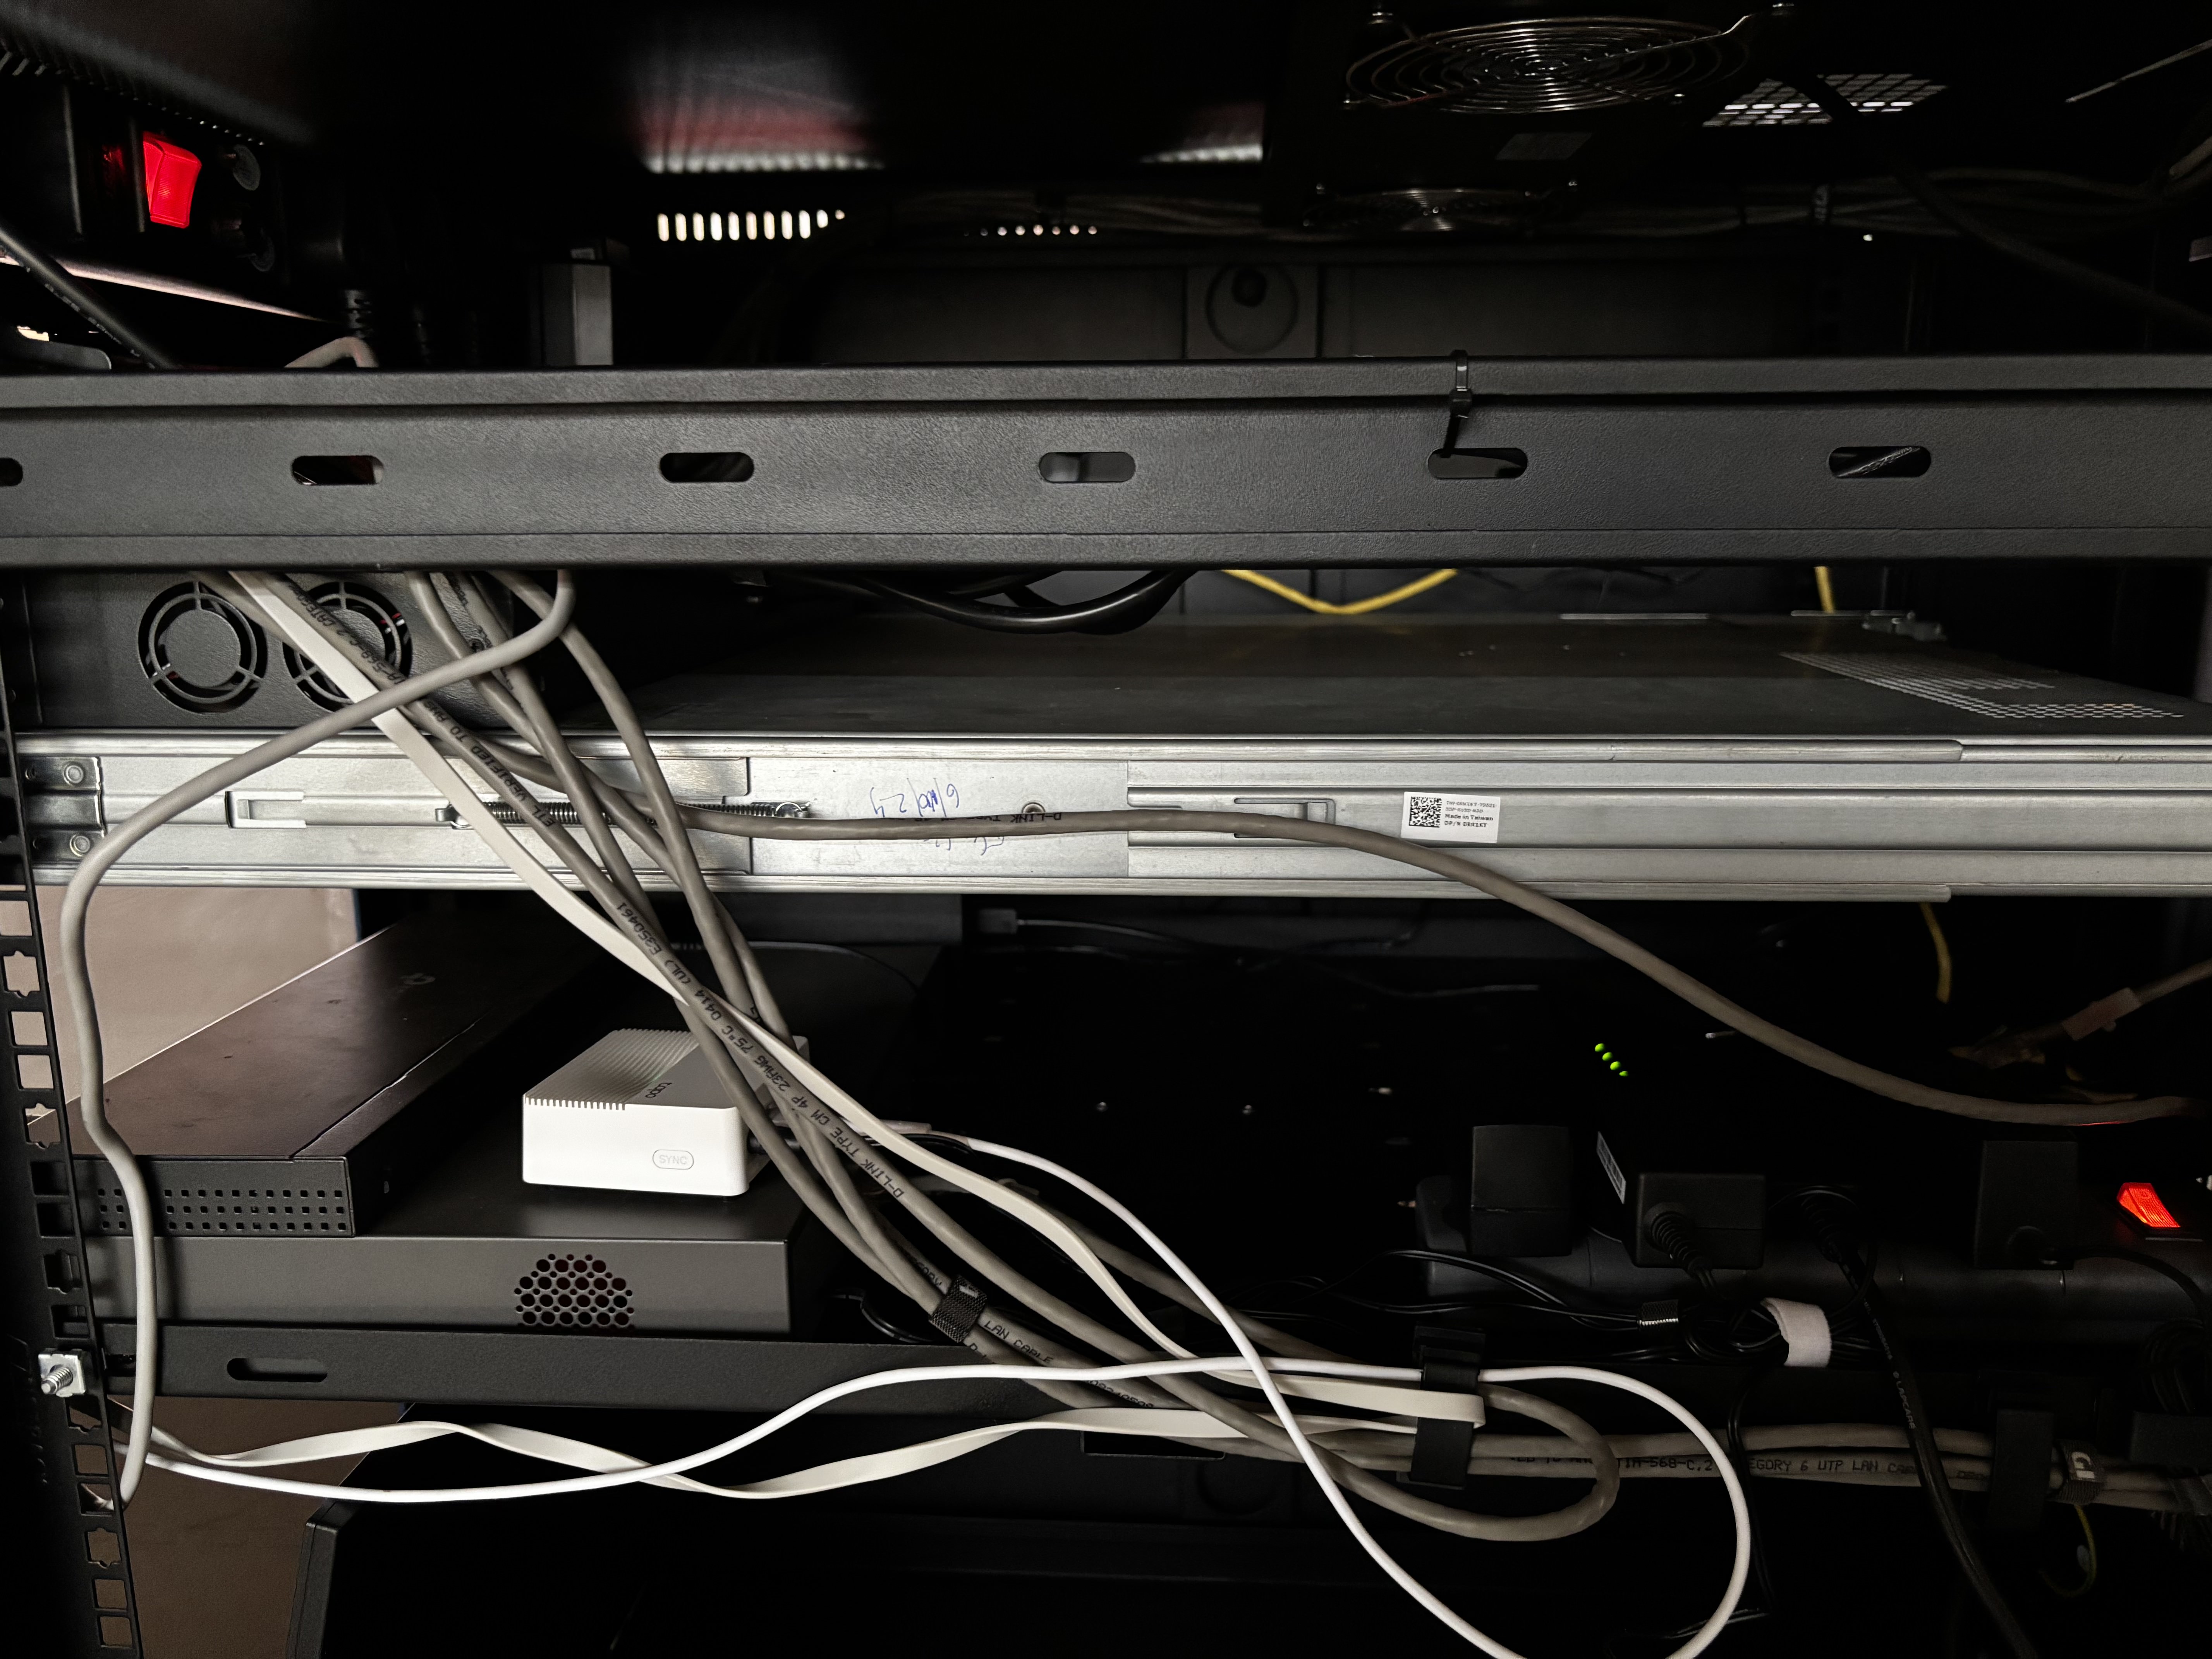
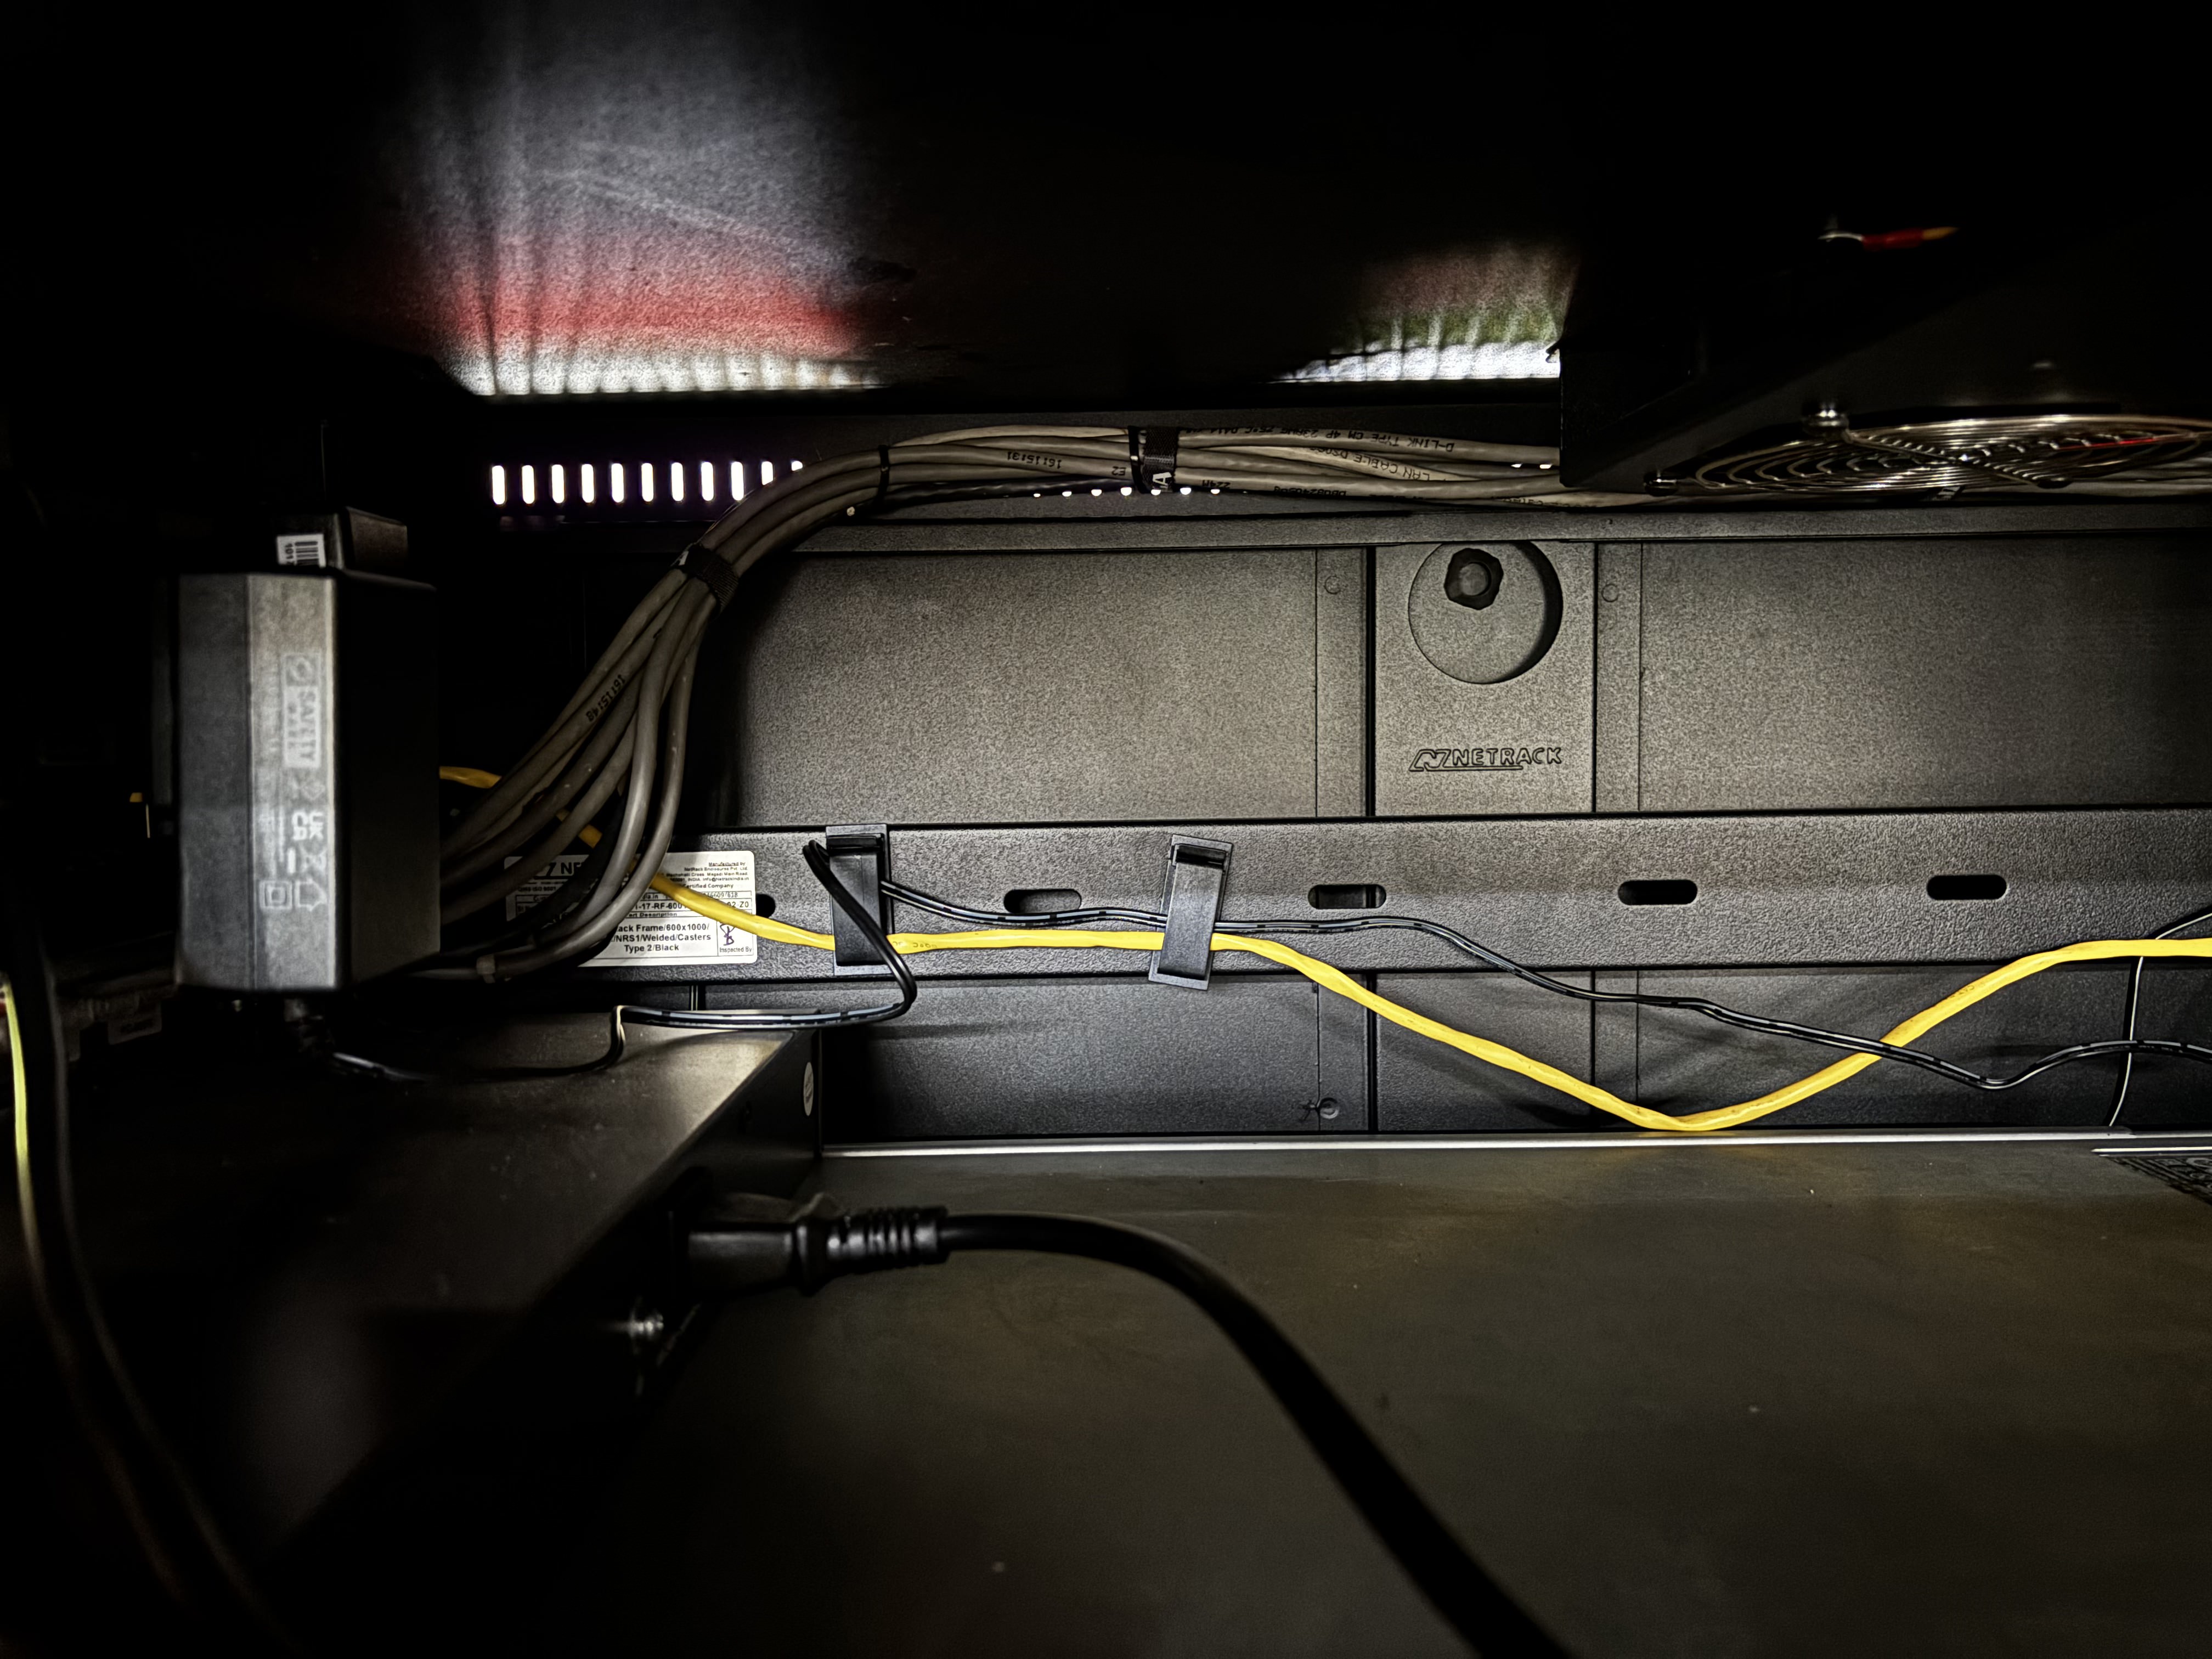
Once all the equipment was securely in place, I tackled the next big challenge: cable management. I gathered all my Velcro straps, cable ties, and organizers and got to work. Proper cable management isn’t just about making things look neat—it’s essential for future troubleshooting and upgrades. I added a cable management cover to keep the bundles organized and protected, giving the setup a professional finish.
Patch Cables
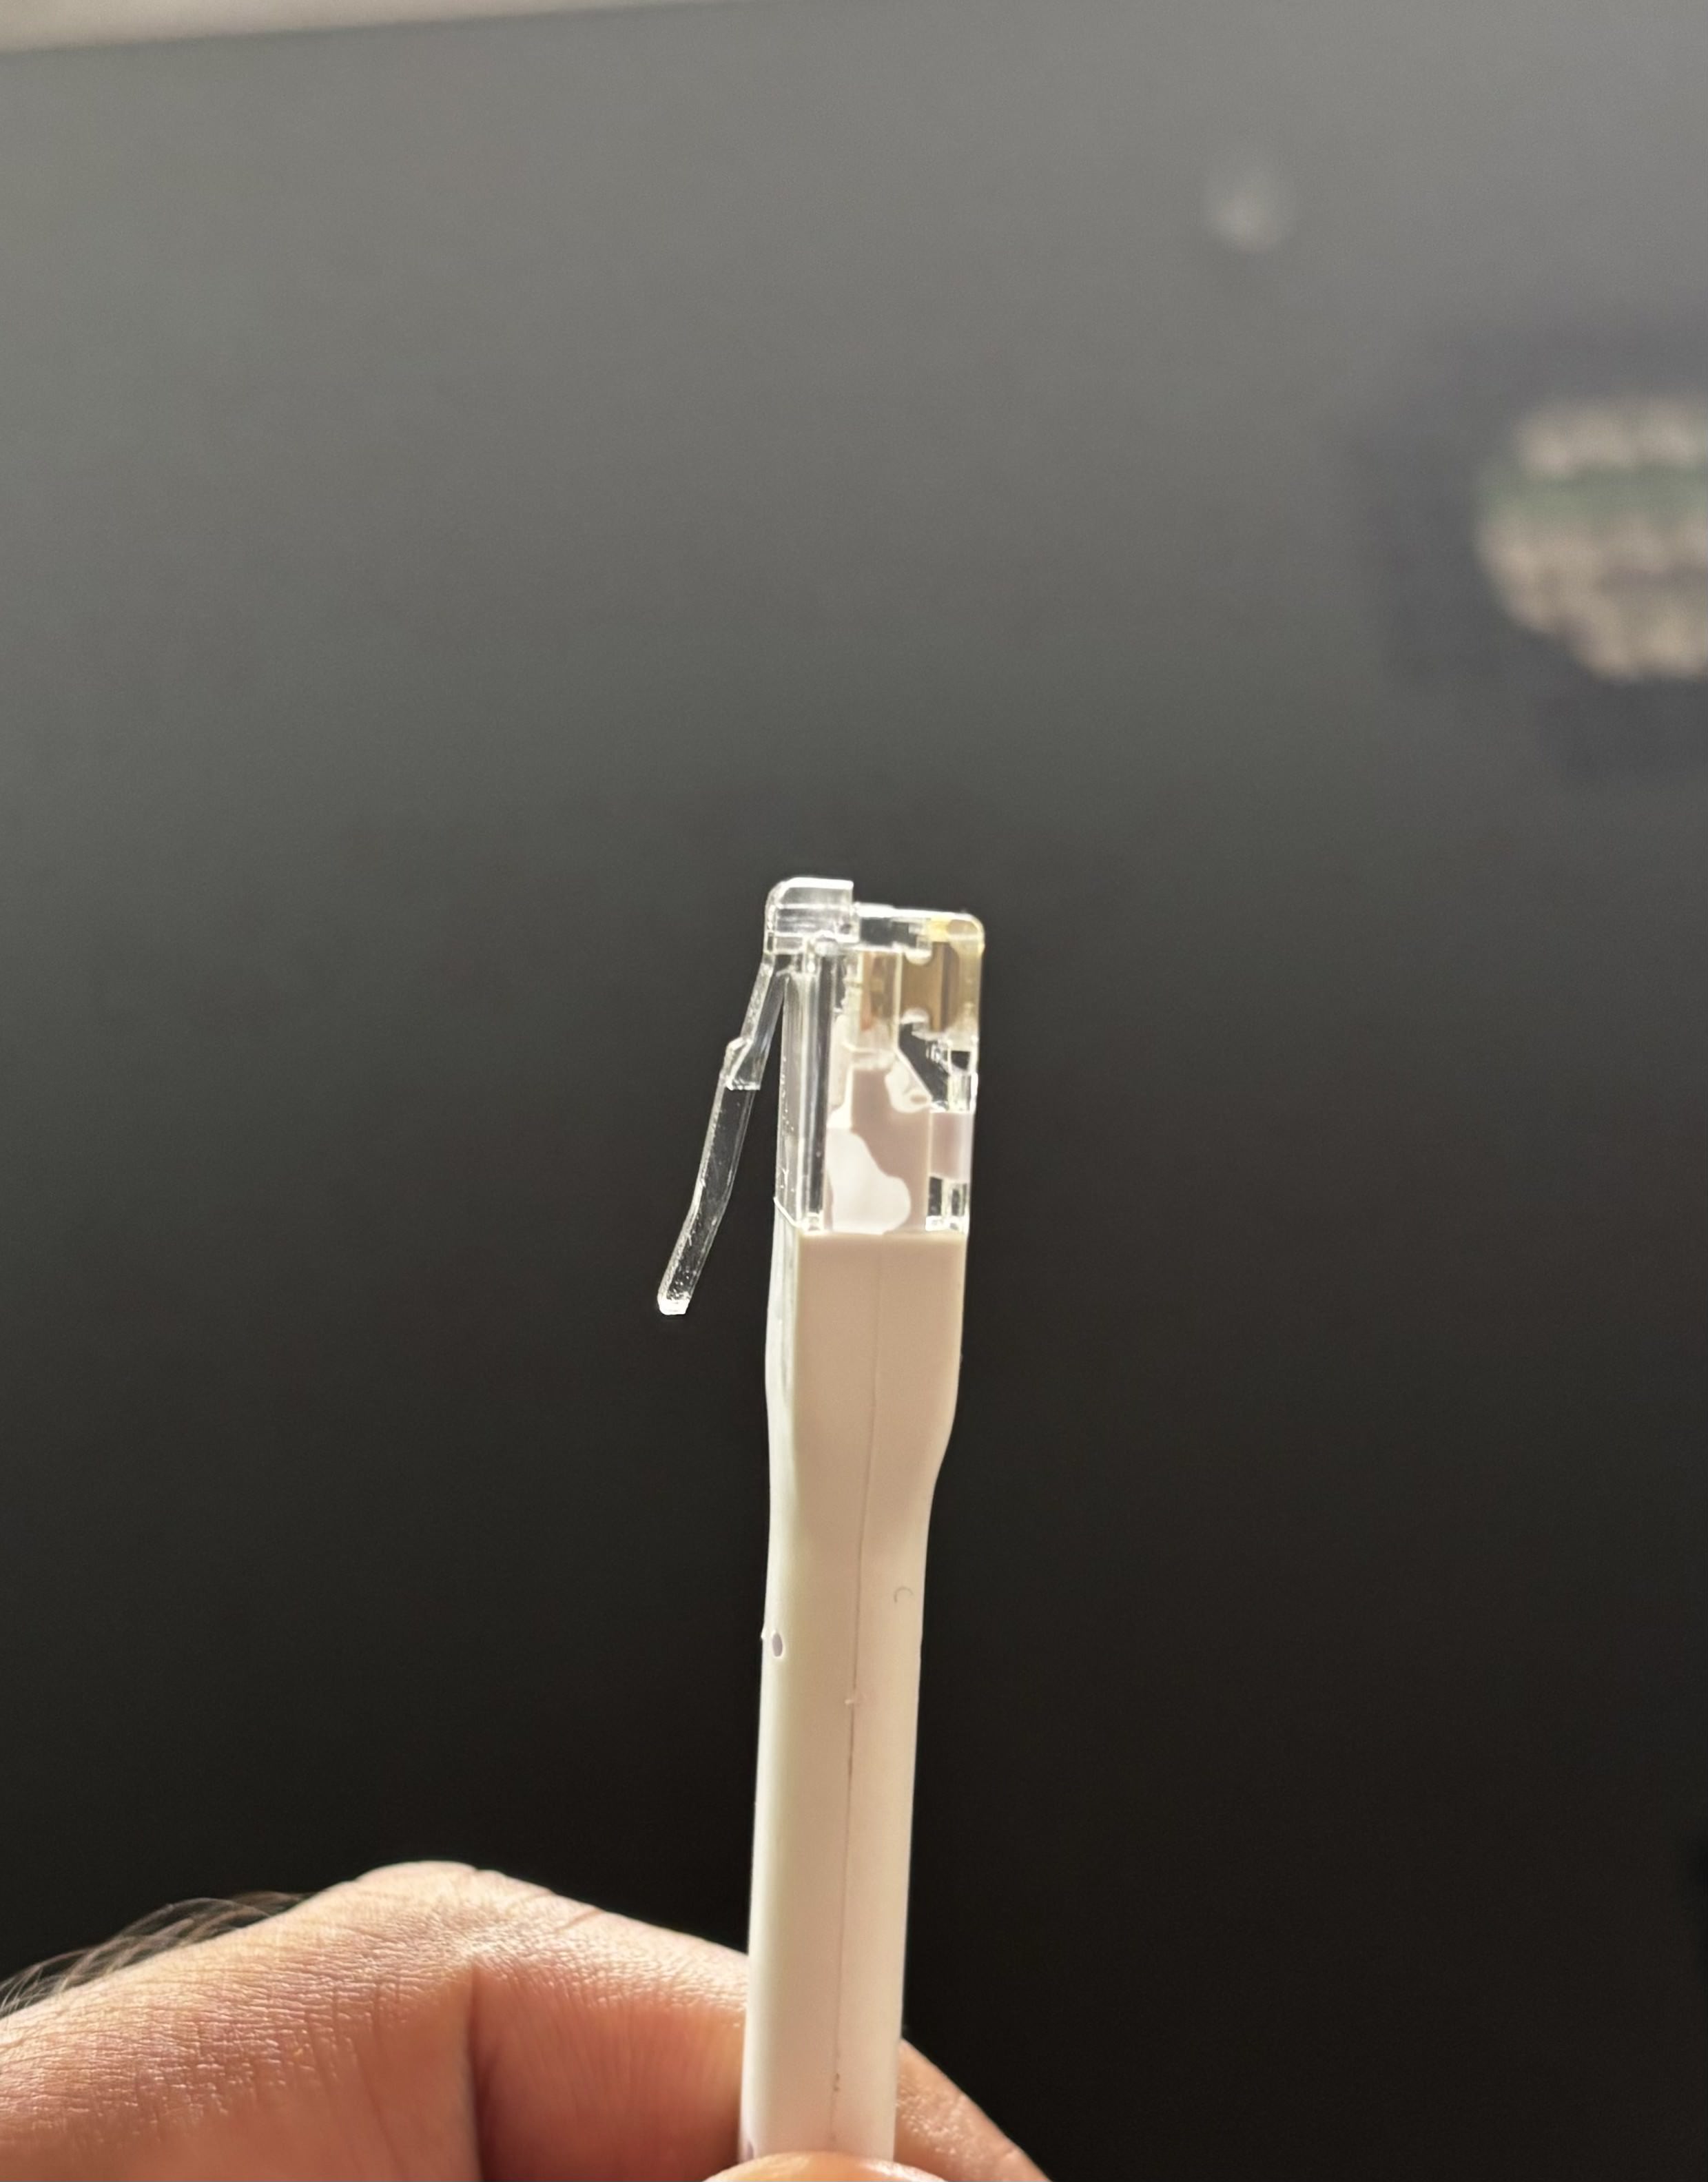
Initially, I tried to create my own patch cables using Cat6 cable and jacks. While this approach worked, the cables weren’t as flexible as I needed for clean management in the rack. That’s when I heard about Ubiquiti patch cables and decided to invest in them. The difference was immediate—they were far more pliable and made organizing connections significantly easier. In hindsight, I wish I had chosen these from the start to save time and effort.
Bringing It to Life: Proxmox Installation
With everything set up, it was time to breathe life into the homelab with Proxmox, an open-source virtualization platform. Proxmox acts as the command center, allowing me to run and manage multiple VMs on a single server. Installing it felt like the culmination of all my hard work, turning this project from a bunch of connected hardware into a functional, powerful homelab.
Documentation
Throughout the entire process, I made sure to document every step—cable layouts, IP addresses, VM configurations, and notes on why I set things up a certain way. This habit wasn’t just helpful; it was essential. Clear documentation saved me countless hours during troubleshooting and will be a lifesaver when I need to expand or adjust the setup. If you’re planning a similar project, don’t skip this step. You’ll be grateful for it later.
Final Thoughts: Lessons Learned and What’s Next
This homelab project taught me more than I expected. Here are some takeaways:
- Think Ahead: Choosing the right rack size from the start could have saved me a lot of hassle.
- Document Everything: Good documentation isn’t optional; it’s essential for efficient maintenance.
- Invest in Quality: Whether it’s patch panels, patch cables, or a standard PDU, investing in quality components makes a significant difference in organization and reliability. Don’t skimp on quality..
Completing this homelab wasn’t just about the technical side—it was about overcoming challenges, adapting, and realizing that even the most complex projects can be made manageable with the right approach and support. Now, with 11 VMs running on Proxmox, I have a robust, organized setup ready for future projects.
What’s Next
In upcoming posts, I’ll dive into the details of those 11 VMs and what they do. But that’s a story for another day.
Thanks for following along on this journey. Whether you’re planning your own homelab or just looking for inspiration, I hope this series has provided you with helpful insights.